
- Sharon Rajendra Manmothe

- 22 hours ago
- 2 min read
How to install Azure CLI to Windows
Visit this site and install Azure CLI

After installation, close and reopen any active terminal window. Run the Azure CLI with the az command from either PowerShell or the Windows Command Prompt.

Now login to your Azure with Azure CLI
with command
AZ loginIt will take you to one interactive window to login to your Azure account - use the email which is your primary email account for azure.
After Successful login you will get out put as follows

Now you can check your account details by using below command.
az account showYou will one Jason type structure. It means that you have successfully login
Steps to Deploy a Docker Container to Azure
Step 1: Create a Docker Container Locally
Install Docker on your machine.
Create a simple app (for example, Python Flask or Node.js).
Create a Dockerfile:
# Example for Python Flask app
FROM python:3.11-slim
WORKDIR /app
COPY requirements.txt .
RUN pip install -r requirements.txt
COPY . .
EXPOSE 5000
CMD ["python", "app.py"]
Build the image:
docker build -t myapp:1.0 .
Test locally:
docker run -p 5000:5000 myapp:1.0
Step 2: Push Docker Image to Azure Container Registry (ACR)
Search for “Container Registry”
At the top search bar, type:
Container Registry
Click on Container Registries service.

Click + Create
You will see a Create button. Click it.
Fill the Basic Details
Field | What to select |
Subscription | Azure for Students |
Resource Group | Click Create new → name: myResourceGroup |
Registry name | myacrstudent |
Location | Central India (or nearest) |

Tag your image:
docker tag myapp:1.0 myacrstudent.azurecr.io/myapp:1.0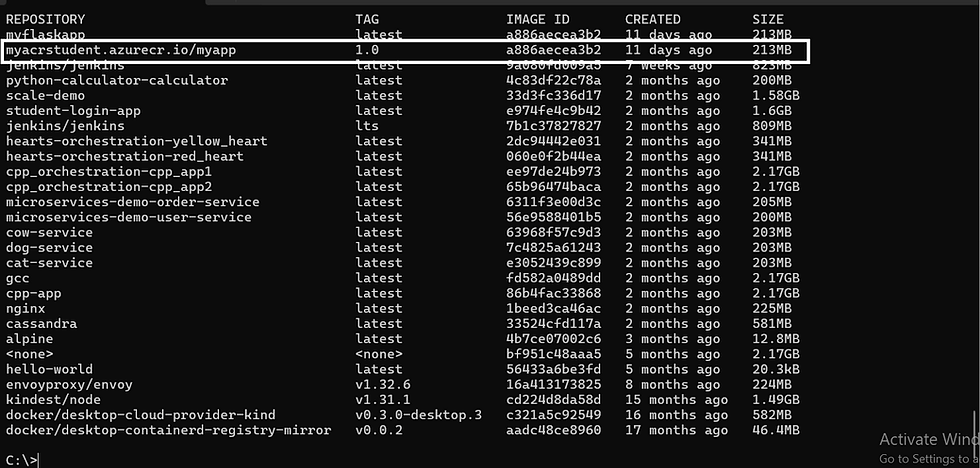

Push image:
docker push myacrstudent.azurecr.io/myapp:1.0
Step 3: Deploy to Azure
Option 1: Azure Container Instances (ACI) — easiest for students
az container create \
  --resource-group myResourceGroup \
  --name mycontainer \
  --image myacrstudent.azurecr.io/myapp:1.0 \
  --registry-login-server myacrstudent.azurecr.io \
  --registry-username <ACR-username> \
  --registry-password <ACR-password> \
  --dns-name-label myappstudent \
  --ports 5000
Your app will be available at:http://myappstudent.<region>.azurecontainer.io:5000
Option 2: Azure App Service (Web App for Containers)
You can deploy your container directly as a Web App.
Azure App Service can pull directly from ACR.
Great for web apps without worrying about scaling manually.
Step 4: Access Your App
Once container is running, check logs:
az container logs --name mycontainer --resource-group myResourceGroup


